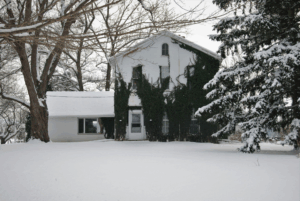
A roof replacement isn’t something homeowners do often, but it’s one of the most significant investments you’ll make in your property. It protects your home, improves energy efficiency, and adds curb appeal. Still, many homeowners dread the process because they don’t know what to expect.
At LW Haugen LLC, we believe roof replacement doesn’t have to be overwhelming. With the right guidance, it can be straightforward and even exciting. Here’s your complete step-by-step guide to what really happens during a roof replacement.
Step 1: Inspection and Evaluation
Every project starts with an inspection. Skilled roofing contractors in St Cloud MN examine shingles, flashing, gutters, attic ventilation, and decking. They’ll let you know if repairs will do the job or if replacement is necessary.
This step also helps you budget by estimating costs and timelines before work begins.
Step 2: Material Selection
Choosing the right material is one of the biggest decisions in the process. Options include:
- Asphalt shingles: Affordable and versatile, available in countless colors and designs.
- Metal roofing: Durable, modern, and energy-efficient, lasting 40–70 years.
- Designer or composite shingles: Mimic slate, tile, or cedar with lower weight and maintenance.
An experienced roofing company in St Cloud MN will walk you through the pros, cons, and costs of each material.
Step 3: Written Estimate and Project Planning
Transparency is key. A professional estimate should include:
- Material and labor costs.
- Removal and disposal of old roofing.
- Additional upgrades (like underlayment, ventilation, or flashing).
- Start and completion dates.
Planning also includes ordering materials and scheduling your project to fit weather windows.
Step 4: Home Preparation
Getting ready for a roof replacement isn’t just about what happens on top of your house—it also involves preparing the space around your home to keep everything safe and accessible for the crew. A little preparation goes a long way in making the process smooth and stress-free.
Start by clearing your driveway and nearby walkways. Crews will need room for dumpsters, trucks, and equipment, so it’s best to move vehicles out to the street. This not only provides easy access for workers but also prevents your car from being scratched or dented by falling debris.
Inside your home, the attic is particularly important. Roof replacement involves hammering, nailing, and vibrations that can shake loose dust and debris. Cover stored items with old sheets or plastic tarps to keep them clean. If you keep valuables or fragile items in the attic, moving them temporarily is the safest choice.
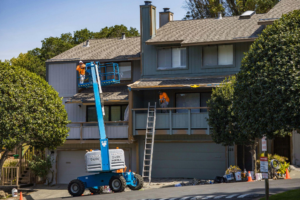
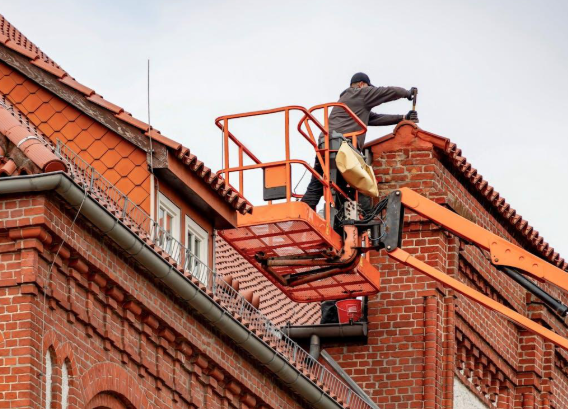
Step 5: Removing the Old Roof
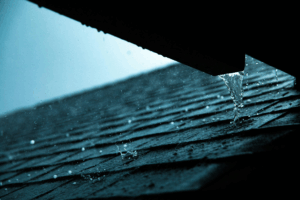
The first installation step is tearing off the old roof. Crews strip shingles, nails, and underlayment, exposing the decking. This stage often reveals hidden damage like rot, which must be repaired before new materials go down.
Step 6: Decking Repairs and Reinforcement
Decking forms the foundation of your roof. If any boards are soft, rotted, or warped, they’re replaced to ensure a solid base for new roofing.
Step 7: Installing Underlayment and Flashing
Underlayment provides waterproof protection beneath shingles or panels. Flashing is replaced around chimneys, valleys, and skylights to block water intrusion. Together, these elements form the unsung heroes of your roofing system.
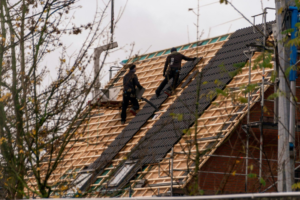
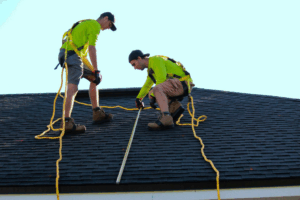
Step 8: New Roof Installation
Now the transformation begins. Shingles, metal panels, or other materials are installed with precision. Proper spacing, sealing, and fastening ensure both performance and aesthetics.
This stage is where skilled roofers make all the difference, delivering a roof that’s both durable and visually appealing.
Step 9: Ventilation and Final Touches
Good ventilation keeps your roof healthy. Crews check ridge vents, soffits, and attic airflow to prevent heat and moisture buildup. Ridge caps, trim, and flashing are finished for a clean, polished look.
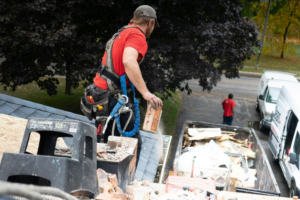
Step 10: Cleanup and Inspection
When installation is done, crews clean up debris, nails, and materials from your yard. A final inspection ensures the roof meets both industry standards and your expectations.
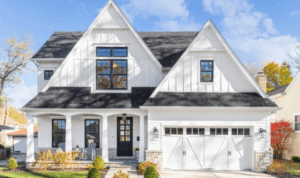
Step 11: Enjoy the Benefits
With a new roof in place, you’ll enjoy:
- Stronger protection from the elements.
- Lower energy bills thanks to modern materials.
- Increased property value.
- Stunning curb appeal.
How Long Does It Take?
Most replacements take 1–3 days, depending on size, complexity, and weather. Larger or more intricate projects may take longer, but professional planning minimizes disruptions.
The Value of Roof Replacement
While replacement is a big investment, the return is undeniable:
- High ROI at resale.
- Fewer repairs for decades.
- Confidence knowing your home is secure.
Ready to Replace Your Roof?
Roof replacement doesn’t have to be stressful. With the right team, it’s a seamless process that upgrades your home’s protection, efficiency, and curb appeal.
At LW Haugen LLC, we guide you from inspection to installation, handling every detail with expertise.
Call LW Haugen LLC today for your free roof replacement consultation. Let’s design and install a roof that protects your home and looks incredible.